
Screen Room Dream Unfolded
Vision Rooted in Family Memories
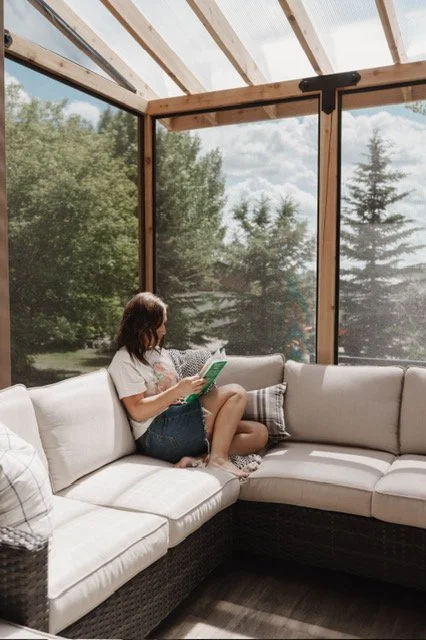
Inspired by cherished moments at a cabin—there was a simple screened room off the kitchen, and it was the heart of laughter, meals, and quiet reflection—I have spent years thoughtfully cultivating the perfect Pinterest board. What began as inspiration blossomed into intention.
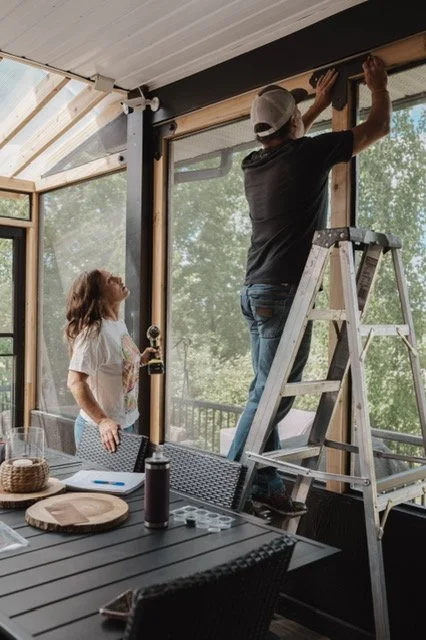
After receiving contractor quotes ranging from $17,000 to over $35,000, I realized none fully reflected my personal vision. Fueled by determination and resources, I was committed to building it myself—the most ambitious DIY project I've ever tackled and I knew I would need to pull in the help of my husband and Dad!!
With meticulous planning, savvy sourcing, and all labor done by myself, my husband and my dad, we created and furnished our dream space for a mere $7,000—a fraction of the contractors' estimates. That’s about $10,000–$28,000 saved, with furnishings included! We still have a few little finishing touches left but we are still WELL under those cost estimates!
Structure and Choice of Wood
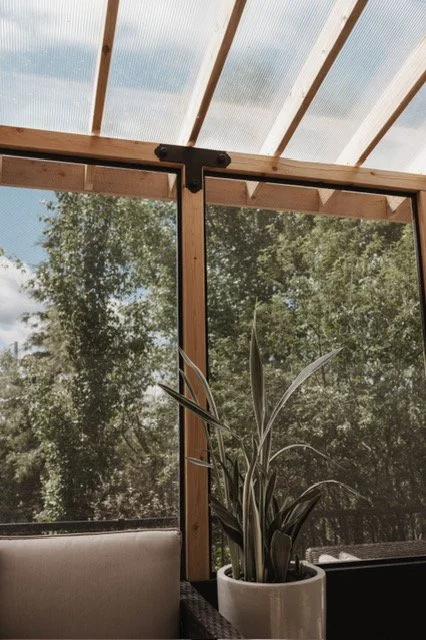
Opting for cedar was a no-brainer—I wanted the posts and rafters exposed, and who doesn’t adore that fresh cedar scent, especially when it rains?
We chose to shop at Timber Town. Their team was incredibly knowledgeable, and they carried top-quality cedar lumber. Getting straight, well-graded cedar posts isn’t always easy—Timber Town really came through.
Timbertown https://timbertown.ca/building-materials/
Screen System
Discovering the Perfect Screen System
I knew I wanted the sleek, minimalist look of Screen Tight’s Mini Track system—especially after seeing Philip and Flop showcase it on Instagram. The only hurdle? Finding a Canadian supplier.
Finding a Canadian Source
That’s where Screen Porch Solutions in Vankleek Hill, Ontario came into play. They’re the exclusive Canadian distributor for Screen Tight—and working with them was a dream. I simply sent them the final measurements for my screen openings, and within a week I had everything shipped straight to Alberta. They precisely calculated what I needed, all based on the Mini Track system.
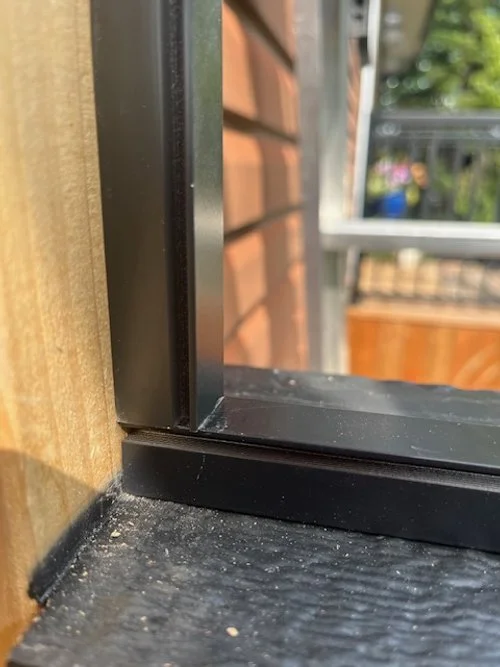
Why Mini Track Stole the Show
Ultra low-profile elegance — just ¾″ × ¾″ aluminum track with hidden fasteners for a clean, modern finish
DIY- and pro-friendly — easy two-piece install that snaps into clips with spline rolled in
Built for beauty — outer trim remains visible and paintable; available in white, dark bronze, or black to seamlessly match any design
I will link it here https://screenporchsolutions.ca/pages/minitrack
Mini Track System Installation Guide
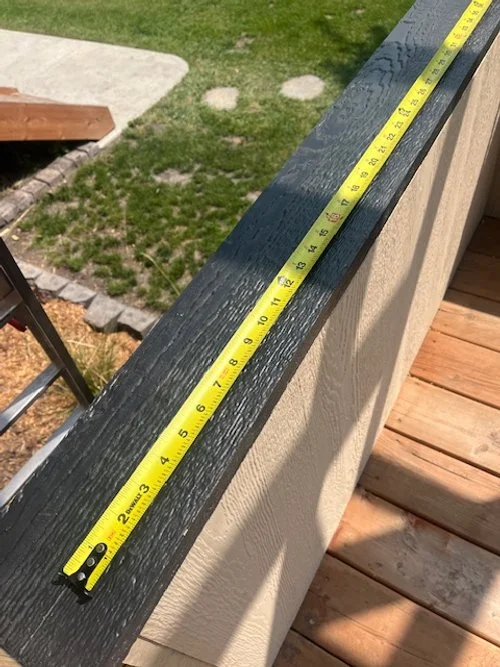
Materials & Tools
Measured and cut tracks (Tape Measure and Saw - we used a Metal Saw but Chop Saw can be used with caution)
Screws
Rubber Mallet
Spirit level
Pilot‑drill bit
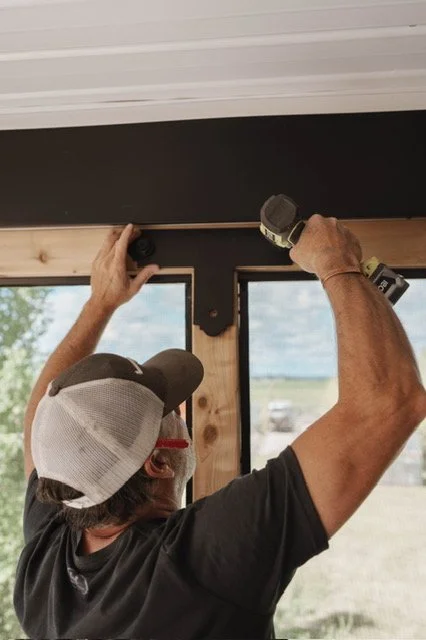
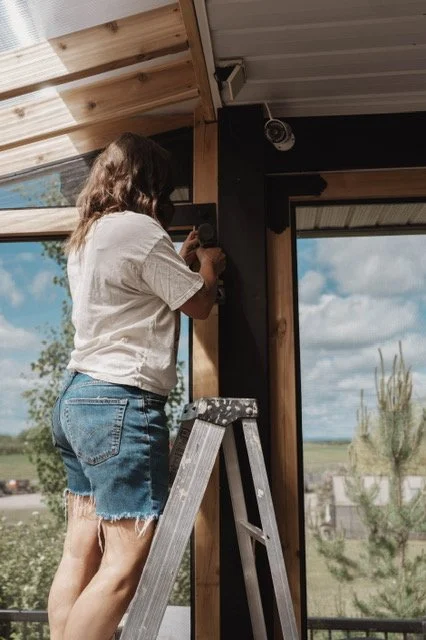
Step‑by‑Step Instructions
Prepare tracks: Confirm all track pieces are accurately measured and cut.
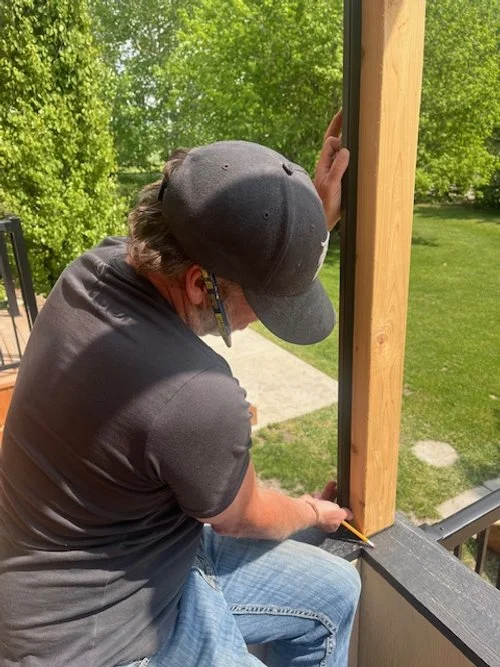
Align & level: Hold tracks flush against the mounting surface. Use a spirit level to ensure straight alignment.
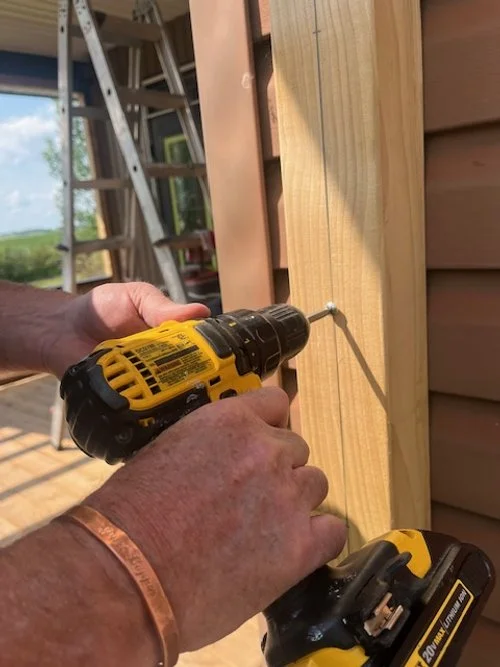
Pilot holes: Drill small pilot holes to keep screws centered and prevent track distortion.
Secure tracks: Fasten screws snugly—don’t overtighten, or the track won’t hammer on easily
Set permanently: Gently hammer the track into place until fully flush. Use a rubber hammer or wood buffer to prevent damage.
Vital Tips
Precision is essential: If your measurements or alignment are even slightly off, the screen won’t sit flush.
Final placement matters: Once hammered, the track is fixed—removal will ruin it.
Dry‑fit first: Position the tracks without screws to double‑check alignment.
Use gentle taps: Hammer carefully with a rubber mallet to avoid denting the track.
Screen Installation Guide
Materials & Tools
Spline – I ordered mine from Screen Porch Solutions: round spline https://screenporchsolutions.ca/products/round-spline
Spline Roller Tool – I used this one from Home Depot: an Everbilt spline roller for window and door bug screen repair https://www.homedepot.ca/product/everbilt-spline-roller-for-window-and-door-bug-screen-repair/1000114944
Mini Track Screws – Also sourced from Screen Porch Solutions https://screenporchsolutions.ca/products/mini-track-screws
Screen Mesh – I went with their Super‑Screen porch screen https://screenporchsolutions.ca/products/super-screen-porch-screen?variant=39872477561018
Step‑by‑Step Instructions
I watched the installation video provided by Screen Porch Solutions which offers a comprehensive, step-by-step guide on how to install the Screen Track system. This system is designed for easy installation and maintenance, making it an excellent choice for both DIY enthusiasts and professionals!
💡 Pro Tip: Don’t hesitate to reach out to Screen Porch Solutions at any time—they guided us every step of the way!
Roof Material & Installation
We installed 8 mm polycarbonate roofing panels in convenient 4 × 8 ft sheets, and couldn’t be happier with the result. They were lightweight and easy to handle, making installation a breeze. The panels are incredibly durable and impact-resistant—perfect for withstanding our climate—even while allowing plenty of natural light through. On top of it all, they’re cost-effective and require minimal upkeep. All in all, this was a fantastic roofing choice!!
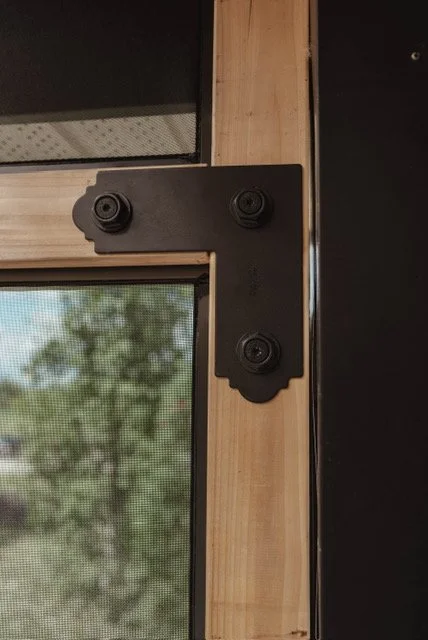
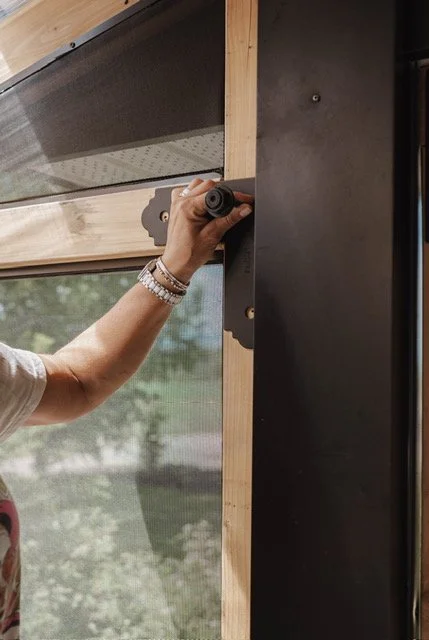
The Cherry on Top
We partnered with Simpson Strong‑Tie on this project, and their structural wood connectors truly stole the show. Not only did these accent pieces—crafted from galvanized steel with a sleek black powder‑coat finish—bring stunning visual flair, but they also deliver exceptional wood‑to‑wood strength and structural peace of mind.
Check it out here: https://www.strongtie.com/missioncollection_outdooraccents/apt_strap/p/apt
The Cost - lets break it down
Screen System - $2,100
Building Materials (Cedar, framing wood, LP Smart Panel, Trim, Screws, Paint - $2500
Flooring - $450
Roofing - $500
Furniture (Sectional) - $1400
TOTAL - $7,000.00 ish

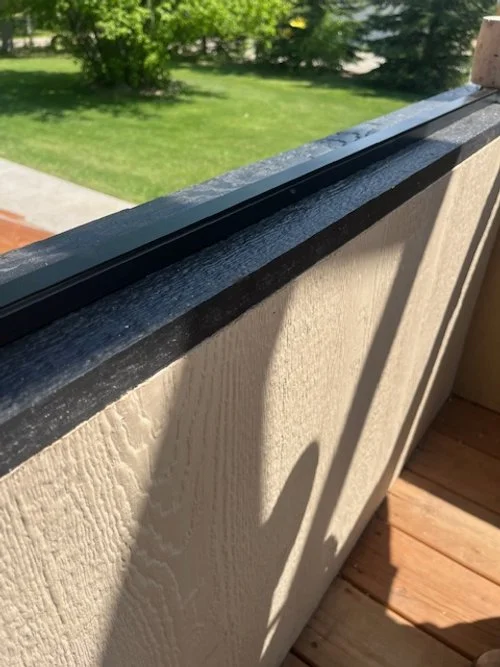
Here is a photo of how this beautiful room looks from the outside of the house, we decided to add some black Fascia and trim the balance out the bottom wall and make the structure look more balanced, we are so happy with how it turned out - what do you think?!!
